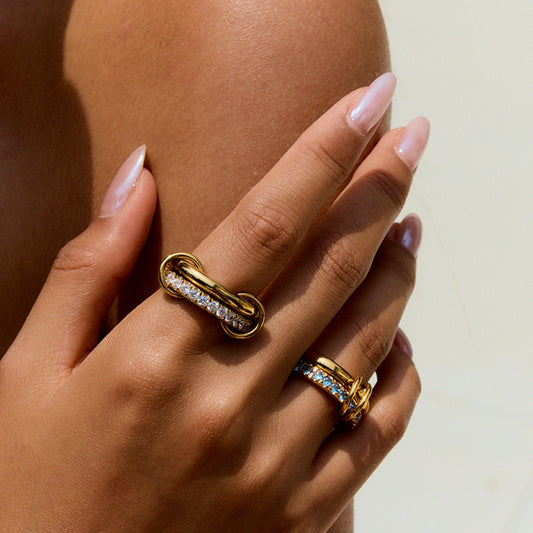
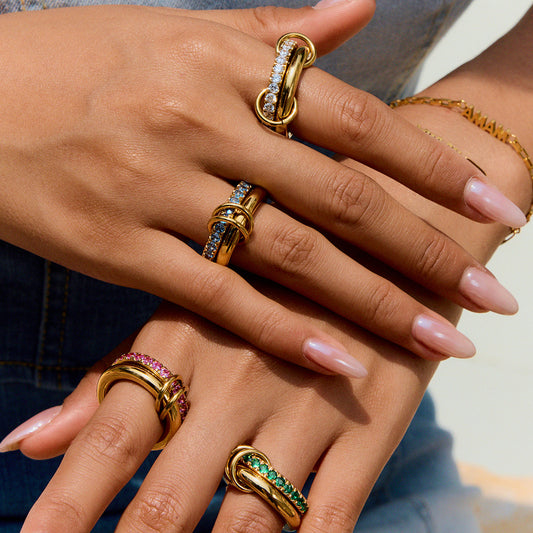
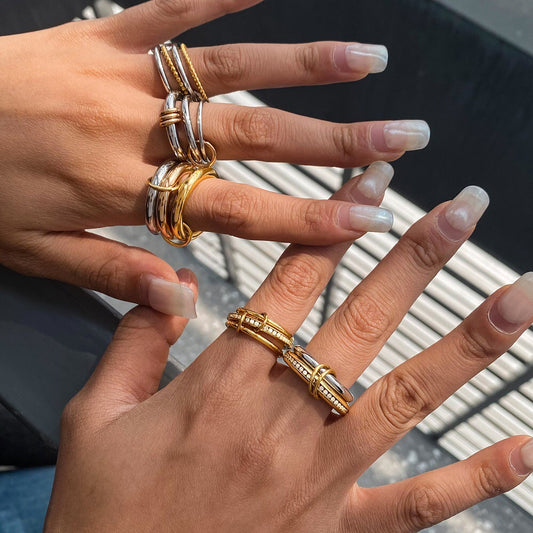
How to Check Ring Size at Home? Trying to figure out how to check ring size at home without a trip to the jeweler? You’re not alone. The good news: you can get a precise measurement using household items you already have—no special tools required. In 2025, the revenue in the Jewelry market worldwide is projected to reach a staggering US$373.87bn. Whether you’re measuring your own finger or secretly sizing a partner’s, these 6 methods are simple, reliable, and designed to eliminate guesswork. In this guide, we’ll walk you through each technique, share pro tips for accuracy, and answer common questions (like how to measure without them knowing) to ensure your next ring fits perfectly.

Why Accurate Ring Sizing Matters
Avoid Costly Resizing Fees
A poorly sized ring often requires resizing, which costs \(20–\)200+ (depending on metal and design). For example, resizing a platinum engagement ring can cost \(100–\)150, while a simple sterling silver band may be \(20–\)40. Measuring correctly at home saves you time, money, and the hassle of returning or altering the ring.
Prevent Discomfort & Damage
A ring that’s too tight can cut off circulation, cause swelling, or leave indentations. One that’s too loose risks slipping off and getting lost—especially sentimental pieces like wedding bands or heirlooms. The right size should fit snugly but slide over the knuckle with slight resistance.
Ensure Gift Success
If you’re shopping for a surprise gift (e.g., a birthday ring for your partner), an accurate size means they can wear it immediately—no awkward “it doesn’t fit” moments. A 2024 Gifting Report found that 89% of recipients prefer a perfectly sized jewelry gift over one that needs adjustments.
Tools You’ll Need to Check Ring Size at Home
You don’t need fancy equipment—grab these household items:
-
String, floss, or a thin strip of paper (1cm wide)
-
Ruler with millimeters (mm) (critical for precision—avoid inch-only rulers)
-
Scissors
-
Pen or marker
-
A ring that already fits the finger (if available)
-
Optional: Printable ring sizer (free online templates)
Pro Tip: Avoid using thick materials (e.g., yarn, ribbon) — they’ll skew measurements. Stick to thin, flexible items that hug the finger tightly.

6 Easy Methods to Check Ring Size at Home
Method 1: String/Floss Measurement (Most Popular)
This is the simplest method and works for any finger:
-
Cut a 10cm piece of string, floss, or thin paper.
-
Wrap it snugly around the base of the finger (where the ring will sit)—make sure it’s tight enough to stay in place but not so tight that it cuts off circulation.
-
Mark the spot where the two ends overlap with a pen.
-
Lay the string flat on a ruler and measure the length in millimeters (mm).
-
Use a ring size chart (see below) to convert the measurement to your ring size.
Example: If the string measures 54mm, your ring size is US 6 (or EU 54).
Method 2: Use an Existing Ring (Most Accurate)
If you have a ring that already fits the target finger, this method eliminates guesswork:
-
Place the ring flat on a piece of paper.
-
Trace the inner circumference of the ring with a pen (hold the pen straight up—don’t angle it).
-
Use a ruler to measure the diameter of the circle (from one side to the other, through the center) in mm.
-
Multiply the diameter by 3.14 (pi) to get the circumference, or use a ring size chart to match the diameter to a size.
Example: A ring with a 17.2mm diameter has a circumference of 54mm (17.2 x 3.14) = US 6.
Method 3: Printable Ring Sizer (Convenient)
Free printable ring sizers are available online (search “free printable ring size chart”):
-
Download a reputable template (from jewelers like James Allen, Blue Nile, or Kay Jewelers).
-
Print the template at 100% scale—do not fit to page or shrink/enlarge (use the “actual size” setting).
-
Verify the template’s accuracy by measuring the “test circle” (most templates include one) with a ruler—it should match the stated diameter (e.g., 20mm).
-
Cut out the sizer strip and make a slit at the marked end.
-
Slide the sizer onto the finger, adjust until it fits snugly, and read the size through the slit.
Warning: Printer settings can distort the template—always verify with the test circle before using.

Method 4: Paper Strip Sizer (No String? No Problem)
If you don’t have string or floss, use a thin strip of paper:
-
Cut a 1cm wide, 10cm long strip of paper (newspaper, notebook paper works).
-
Wrap it around the finger as described in Method 1—snug but not tight.
-
Mark the overlap and measure the length in mm.
-
Convert to ring size using a chart.
Pro Tip: Paper can stretch slightly—measure twice to confirm the length.
Method 5: Ruler & Ring Comparison (Quick)
If you have a ring but no paper, use a ruler directly:
-
Place the ring on a flat surface (e.g., tabletop).
-
Use a ruler to measure the inner diameter (from edge to edge, through the center) in mm.
-
Look up the diameter on a ring size chart—no need to calculate circumference.
Example: A 16.5mm inner diameter = US 5.5; 18.2mm = US 7.

Method 6: Water Displacement (For Irregular Fingers)
This method works for fingers with large knuckles or irregular shapes:
-
Fill a graduated cylinder (or measuring cup with mm markings) with 50ml of water.
-
Slide a ring that fits the finger into the water—record the new volume (e.g., 57ml).
-
Subtract the initial volume from the final volume to get the ring’s volume (7ml in this example).
-
Use an online ring volume-to-size converter (available on jewelry sites) to find the size.
Note: This method requires a measuring tool with ml markings—best for those who want extra precision.
Ring Size Conversion Chart (US, EU, UK)
Use this chart to convert your mm measurement to standard ring sizes:
|
Circumference (mm) |
US Size |
EU Size |
UK Size |
|
49 |
4 |
49 |
F |
|
51 |
5 |
51 |
G |
|
54 |
6 |
54 |
J |
|
56 |
7 |
56 |
L |
|
58 |
8 |
58 |
N |
|
60 |
9 |
60 |
P |
|
62 |
10 |
62 |
R |
Pro Tip: Round up to the nearest size if your measurement falls between two numbers—rings can be slightly adjusted, but it’s easier to size down than up.
Pro Tips for Accurate Ring Sizing at Home
Measure at the Right Time of Day
Fingers swell throughout the day—measure in the evening (6–8 PM) when fingers are at their largest. Avoid measuring first thing in the morning (fingers are smaller) or after exercise, eating salty food, or being in hot weather (fingers swell).

Measure 2–3 Times
Human error is common—measure the same finger 2–3 times with different methods (e.g., string + existing ring) to ensure consistency. If results vary by 1–2mm, take the average.
Account for Knuckle Size
If the knuckle is larger than the base of the finger, measure both the base and the knuckle. Choose a size that’s between the two—large enough to slide over the knuckle but snug at the base. For example, if the base is 54mm (US 6) and the knuckle is 56mm (US 7), choose US 6.5.
Don’t Measure Cold Fingers
Cold temperatures make fingers shrink—warm your hands first (rub them together or hold a cup of warm water) for 5 minutes before measuring.
How to Check Ring Size Secretly (For Gifts)
If you’re sizing a partner, friend, or family member without them knowing:
-
“Borrow” a ring they wear on the target finger (e.g., sneak it from their jewelry box while they’re asleep) and use Method 2 or 5 to measure it.
-
Trace the inner circumference of their ring on a piece of paper (keep the trace hidden) and measure later.
-
Ask a trusted friend or family member for help—they may know their ring size or can casually ask without raising suspicion.
-
Use a “practice” ring—say you’re shopping for a friend and need their opinion on fit, then subtly measure their finger with string or a paper strip.
Common Mistakes to Avoid
Using Inaccurate Tools
Thick string, yarn, or ribbon will give you a larger measurement than needed. Stick to thin, flexible materials that hug the finger tightly.
Measuring Too Loosely or Tightly
A loose measurement leads to a ring that falls off; a tight one leads to discomfort. The string/paper should fit like a well-fitting bracelet—snug but not constricting.
Ignoring Hand Dominance
Dominant hands (e.g., right hand for right-handed people) are often slightly larger. If the ring is for the dominant hand, size up by 0.5.
Forgetting About Ring Width
Wide bands (4mm+) require a larger size than thin bands (1–2mm). If you’re buying a wide ring, add 0.5–1 size to your measurement. For example, if your thin band size is US 6, a 5mm wide ring should be US 6.5.
When to Visit a Jeweler (If Home Methods Fail)
While home methods are 90% accurate, visit a jeweler if:
-
You’re measuring for an expensive ring (e.g., engagement ring with diamonds) and want 100% precision.
-
The finger has irregular shape (e.g., very large knuckle, swollen joints).
-
You’re unsure about the measurement (e.g., results vary widely between methods).
Most jewelers offer free ring sizing—just call ahead to confirm.
Conclusion: How to Check Ring Size at Home—Easy, Accurate, and Convenient
Checking ring size at home doesn’t have to be complicated. With simple tools like string, a ruler, or an existing ring, you can get a precise measurement in minutes—saving you time, money, and the stress of ill-fitting jewelry. Whether you’re shopping for yourself or a surprise gift, follow these methods, avoid common mistakes, and use the conversion chart to find your perfect size.
Ready to shop for a ring? Start by:
-
Choosing your method (string or existing ring are best for beginners).
-
Measuring 2–3 times in the evening for accuracy.
-
Converting your mm measurement to your desired size (US, EU, or UK).
Don’t let guesswork ruin your jewelry purchase. With these home sizing tips, you’ll find a ring that fits like it was made just for you. Happy shopping!


