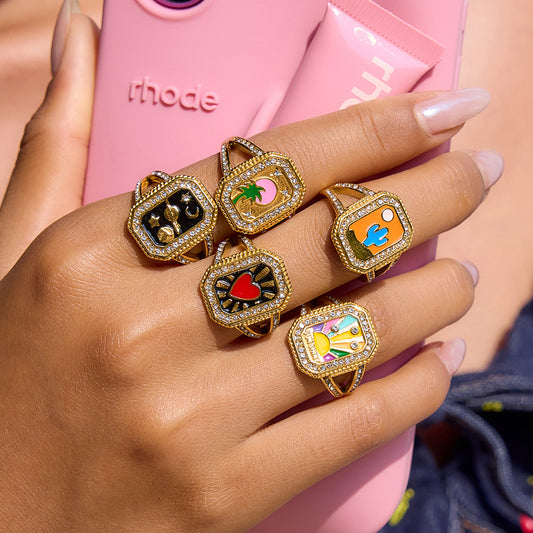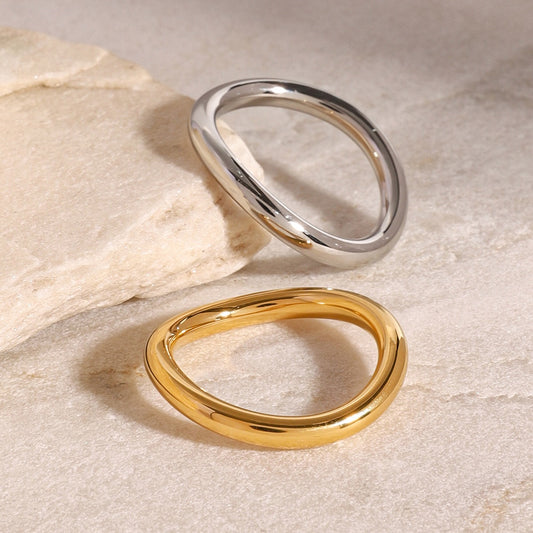


Knowing how to size a ring correctly is the difference between a piece you’ll wear daily and one that sits unused in a jewelry box. A poorly fitted ring—too loose, it slips off; too tight, it’s uncomfortable—ruins both style and functionality. The global jewelry market size was estimated at USD 366.79 billion in 2024 and is projected to reach USD 578.45 billion by 2033, growing at a CAGR of 5.3%. The good news? You don’t need expensive tools or a trip to the jeweler to get an accurate size (though professional sizing helps for important pieces). Below, we’ll break down 5 easy at-home methods for sizing a ring, common mistakes to avoid, and pro tips to ensure your next ring fits like it was made for you.
Why Ring Sizing Matters (And What Happens If You Get It Wrong)
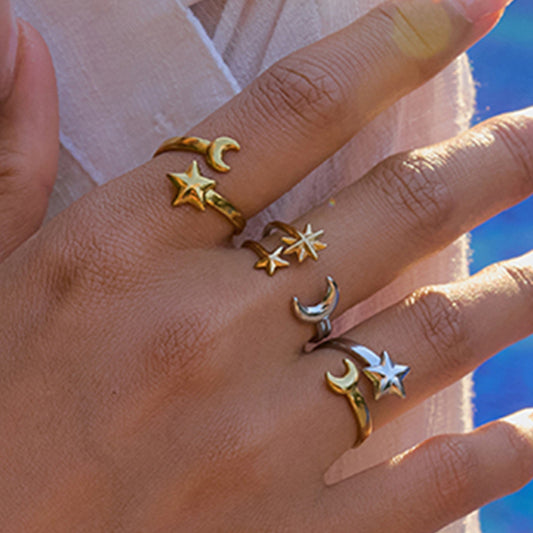
Before diving into methods, let’s start with the basics: why does ring size matter? For everyday jewelry (like a dainty Everly birthstone ring), a wrong size means constant readjusting or fear of losing it. For engagement rings or heirloom pieces, an ill fit can lead to costly resizing—or worse, permanent damage (e.g., bending a band to make it fit).
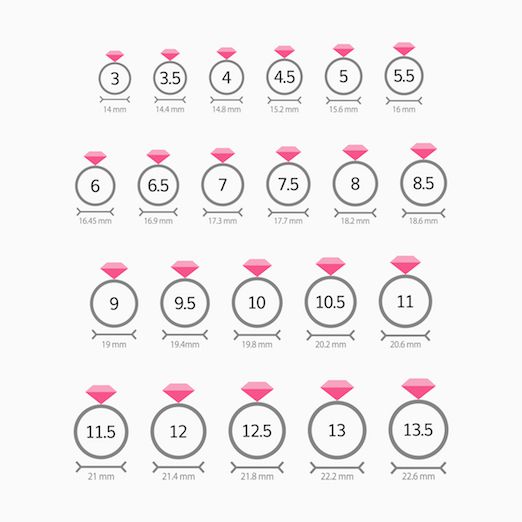
Ring sizes are measured using a standard scale: in the U.S., sizes range from 3 (smallest) to 13.5 (largest), with half-sizes (e.g., 6.5, 7.5) for precision. A 1mm difference in finger circumference can mean the difference between a size 6 and 7, so accuracy is key.
Common consequences of bad sizing:
-
Too Loose: Risk of loss (especially with thin bands like stackable rings), spinning on the finger, or catching on clothes.
-
Too Tight: Discomfort (even numbness), difficulty removing the ring (especially in hot weather, when fingers swell), or indentations on the skin.
5 Easy At-Home Methods for How to Size a Ring
You don’t need a jewelry store to find your ring size. These methods use items you already have at home, and most take 5–10 minutes max.
Method 1: Use a String or Paper Strip (No Tools Needed)
This is the most accessible method—great for quick sizing or if you’re measuring someone else (e.g., a gift recipient).
What You’ll Need:
-
A thin string (embroidery floss works best—avoid thick yarn) or a strip of paper (1/4-inch wide, 6 inches long).
-
A ruler (metric or imperial).
-
A pen or marker.
Step-by-Step:
-
Wrap the string or paper strip around the base of the finger you’ll wear the ring on. Make sure it’s snug—but not tight enough to leave a mark. You should be able to slide one finger under the string/paper.
-
Use the pen to mark where the string/paper overlaps (the point where it forms a complete circle around your finger).
-
Unwrap the string/paper and measure the length from the start to the marked point, in millimeters (mm) if possible (metric is more accurate for ring sizing).
-
Match your measurement to a U.S. ring size chart (see below):
-
44mm = Size 3
-
46mm = Size 4
-
48mm = Size 5
-
50mm = Size 6
-
52mm = Size 7
-
54mm = Size 8
-
56mm = Size 9
-
58mm = Size 10
Pro Tip: If your measurement falls between two sizes (e.g., 51mm, which is between 6 and 7), round up to the larger size. Fingers swell slightly in warm weather, so a slightly looser fit is better than a tight one.

Method 2: Use an Existing Ring (Best for Confirming Size)
If you already own a ring that fits the same finger perfectly (e.g., a plain metal band or a Kendra Scott Elisa ring), use it to find your size—no measuring your finger required.
What You’ll Need:
-
An existing ring that fits the target finger.
-
A ruler (with mm markings).
-
A flat surface.
Step-by-Step:
-
Place the ring flat on the ruler, with the inner edge (the part that touches your finger) aligned with the 0mm mark.
-
Measure the inner diameter of the ring (the distance across the center of the ring, from inner edge to inner edge) in millimeters.
-
Use this diameter to find your size with a conversion chart:
-
14mm diameter = Size 3
-
14.8mm diameter = Size 4
-
15.6mm diameter = Size 5
-
16.4mm diameter = Size 6
-
17.2mm diameter = Size 7
-
18mm diameter = Size 8
-
18.8mm diameter = Size 9
-
19.6mm diameter = Size 10
Note: This method only works if the existing ring is a simple band (no large gemstones or bulky settings that alter the inner diameter). For example, a halo ring with a wide shank may have a smaller inner diameter than a thin solitaire ring, even if both fit the same finger.

Method 3: Use a Printable Ring Sizer (Precise & Free)
Printable ring sizers are free, easy to find online (search “free printable ring sizer”), and more accurate than string or paper. They’re ideal if you’re sizing for a special ring (like an engagement ring) and want extra precision.
What You’ll Need:
-
A printer.
-
Cardstock (thicker than regular paper, for durability).
-
Scissors.
-
A ruler (to confirm the sizer is printed correctly).
Step-by-Step:
-
Download a printable ring sizer from a reputable source (e.g., jewelry retailers like Blue Nile, Zales, or even Kendra Scott’s website).
-
Print the sizer on cardstock—do not select “fit to page” or “scale” (this will distort the size).
-
Use the ruler to check the “test line” on the sizer (most have a 20mm or 1-inch mark). If the test line doesn’t measure exactly 20mm/1 inch, reprint with default settings.
-
Cut out the sizer along the dotted lines, then cut the small slit at one end.
-
Slide the end of the sizer through the slit to form a loop.
-
Put the loop on the target finger and adjust it until it fits snugly (you should be able to slide it over the knuckle with slight pressure).
-
Read the number or letter aligned with the slit—this is your ring size.
Method 4: Use a Tape Measure (Quick for Large Fingers)
A soft measuring tape (the kind used for sewing) is more flexible than a ruler, making it great for measuring wider fingers or fingers with larger knuckles.
What You’ll Need:
-
A soft sewing tape measure (metric or imperial).
Step-by-Step:
-
Wrap the tape measure around the base of the target finger, keeping it level (not twisted).
-
Pull it snug—but not tight—against your skin. The tape should lay flat, with no gaps.
-
Read the measurement in millimeters (mm) where the tape overlaps.
-
Match the mm measurement to a U.S. ring size chart (same as Method 1).
Pro Tip: If your knuckle is significantly larger than the base of your finger (common for many people), measure both the base and the knuckle. Choose a size that’s between the two—this ensures the ring slides over the knuckle but doesn’t slip off the base.
Method 5: Use Household Items (For Emergency Sizing)
If you don’t have string, paper, or a tape measure, you can use common household items to estimate your size. This is a last-resort method (less accurate than others) but works in a pinch.
What You’ll Need:
-
A coin (U.S. coins work best—they have standard sizes).
-
A ring that fits the target finger (or the finger itself).
Step-by-Step:
-
Find a coin and compare its size to your finger or existing ring:
-
Dime (17.9mm diameter) ≈ Size 6
-
Nickel (21.2mm diameter) ≈ Size 10
-
Quarter (24.3mm diameter) ≈ Size 14 (larger than most U.S. sizes, but useful for reference)
-
For example: If your finger is slightly larger than a dime but smaller than a nickel, you’re likely a size 7 or 8.
-
To confirm, wrap a rubber band around the coin until it’s snug against your finger—this mimics the fit of a ring.
![Free Ring Sizer [+Chart] & Try On Online: How to Check Ring Size](https://bcw-media.s3.ap-northeast-1.amazonaws.com/strapi/assets/ring_size_chart_7435f2d25b.jpg)
Common Mistakes to Avoid When Sizing a Ring
Even the best methods fail if you make these common errors. Here’s what to watch for:
Mistake 1: Measuring at the Wrong Time of Day
Fingers change size throughout the day: they’re smallest in the morning (after sleeping, when fluid retention is low) and largest in the evening (after eating, drinking, or being active). Measuring in the morning can lead to a ring that’s too tight by night, while measuring at night can result in a ring that’s too loose in the morning.
Fix: Measure your finger 2–3 times, at different times of day (e.g., morning, afternoon, evening). Use the average measurement for the most accurate size.
Mistake 2: Ignoring Finger Swelling
Factors like temperature, exercise, and even stress cause fingers to swell. For example:
-
Hot weather or a workout can make fingers 1–2 half-sizes larger.
-
Cold weather can make them smaller.
-
Pregnancy or water retention can lead to long-term size changes.
Fix: If you’re sizing for a ring you’ll wear year-round (like a wedding band), measure during average temperature conditions. If you’re pregnant or experiencing swelling, wait until the swelling subsides (or size up by a half-size).
Mistake 3: Measuring the Wrong Finger
It’s easy to assume all fingers are the same size—but they’re not! For example, most people’s ring finger (fourth finger) is 1–2 half-sizes smaller than their middle finger. Sizing your middle finger for a ring you’ll wear on your ring finger will result in a fit that’s too loose.
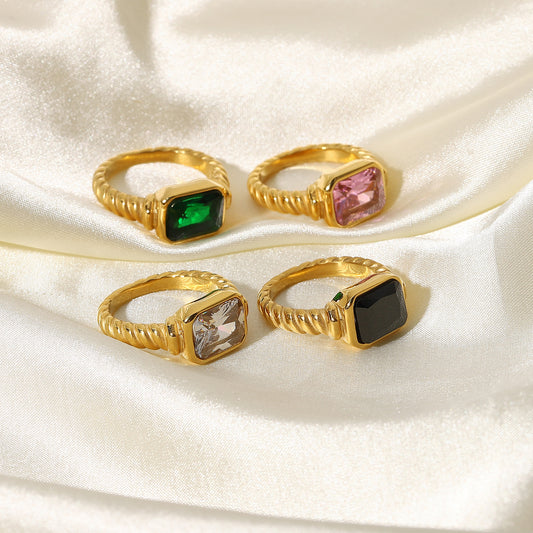
Fix: Always measure the exact finger you’ll wear the ring on. If you’re buying a gift and don’t know which finger they’ll use, opt for a adjustable style (like Kendra Scott’s Elisa birthstone ring) or size up to a common size (7 for women, 10 for men).
Mistake 4: Using Thick String or Paper
Thick materials (like yarn or construction paper) add extra bulk to your measurement, leading to a ring size that’s too large. For example, a thick string may measure 52mm (size 7) when your actual finger circumference is 50mm (size 6)—resulting in a ring that slips off.
Fix: Use thin, flexible materials: embroidery floss, tissue paper, or a strip of lightweight printer paper. The thinner the material, the more accurate the measurement.
Pro Tips for Sizing Rings (For Gifts & Special Pieces)
Sizing a ring for yourself is easy—but what if you’re buying a gift (and don’t want to ruin the surprise) or sizing for an engagement ring (where precision is critical)? Here are pro hacks:
Tip 1: Size a Ring for a Gift (Without Them Knowing)
If you’re buying a ring for someone else (e.g., a Kendra Scott personalized birthstone ring for Mother’s Day), use these sneaky methods:
-
Borrow an Existing Ring: “Borrow” a ring they wear on the same finger (e.g., a plain band) and use Method 2 (measure the inner diameter) to find their size. Return it before they notice!
-
Ask a Friend/Family Member: If they’ve mentioned their ring size to a friend or family member, ask for a heads-up.
-
Opt for Adjustable Styles: Many brands (like Kendra Scott) make adjustable rings (e.g., the Elisa style) that fit sizes 5–8. This eliminates the need for guessing.
Tip 2: For Engagement Rings & Heirlooms—Get Professional Sizing
At-home methods work for everyday jewelry, but for high-value pieces (engagement rings, wedding bands, heirlooms), a professional jeweler’s sizing is worth the trip. Jewelers use a metal ring sizer (a set of nested rings in every size) to find your exact fit—they can also account for factors like knuckle size and band width.
What to Expect at a Jeweler:
-
The jeweler will have you try on metal rings in half-sizes (e.g., 6, 6.5, 7) on the target finger.
-
They’ll check if the ring slides over your knuckle easily and sits snugly at the base.
-
For wide bands (3mm+), they may recommend sizing up a half-size—wider bands feel tighter than thin ones, even if the size is the same.
Tip 3: Account for Band Width
Band width affects how a ring fits. A thin band (1–2mm, like a Kendra Scott Everly ring) fits more loosely than a wide band (3mm+, like a Grayson birthstone ring) in the same size. For example:
-
If you’re a size 7 in a thin band, you may need a 7.5 in a wide band.
Fix: When sizing for a wide band, add a half-size to your standard thin-band size. If you’re unsure, try on both widths at a jeweler to compare.
Tip 4: Know When to Resize a Ring
If you already have a ring that doesn’t fit, resizing is an option—but not all rings can be resized. Here’s what to know:
-
Can Be Resized: Plain metal bands, solitaire rings with simple settings, and most Kendra Scott styles (Elisa, Everly).
-
Cannot Be Resized: Rings with gemstones along the entire band (e.g., eternity bands), rings made of brittle metals (titanium, tungsten), or personalized rings with engravings that will be disrupted.
Cost of Resizing: $20–$100, depending on the metal (gold is more expensive than silver) and complexity of the ring. Most jewelers offer free resizing for engagement rings or pieces bought in-store.
Frequently Asked Questions About How to Size a Ring
Q1: What if my fingers are different sizes?
A: It’s normal! Most people have 1–2 half-size differences between fingers. For example, your index finger may be a size 7, while your ring finger is a 6.5. Always measure the specific finger you’ll wear the ring on.
Q2: Can I size a ring for a child?
A: Yes—but children’s fingers grow quickly, so opt for adjustable rings (like Kendra Scott’s kids’ birthstone styles) or size up slightly. Use Method 1 (string) for at-home sizing, and avoid tight rings that could restrict blood flow.
Q3: Do ring sizes vary by country?
A: Yes! The U.S. uses a numerical scale (3–13.5), while the UK uses letters (A–Z), and Europe uses a numerical scale based on mm circumference (40–75). If buying from an international brand, use a conversion chart (e.g., U.S. size 7 = UK size N = European size 54).
Q4: How often should I check my ring size?
A: Check your size every 1–2 years, or if you experience significant weight gain/loss, pregnancy, or swelling. Fingers change over time, and a ring that fit perfectly last year may be too tight or loose now.
Q5: What if I’m between sizes?
A: Always round up. A slightly loose ring can be fixed with a ring guard (a small plastic or metal insert that reduces the size temporarily), but a too-tight ring is uncomfortable and hard to remove.
Conclusion: Mastering How to Size a Ring for Perfect Fit
Knowing how to size a ring correctly is a skill that saves time, money, and frustration. Whether you use a string at home, a printable sizer, or a jeweler’s metal rings, the goal is the same: a ring that fits snugly but comfortably, slides over your knuckle easily, and stays in place throughout the day.
For everyday jewelry (like a Kendra Scott birthstone ring), at-home methods work great. For special pieces (engagement rings, heirlooms), professional sizing is worth the extra step. And remember: when in doubt, opt for adjustable styles or round up a half-size—you can always make a loose ring tighter, but you can’t make a tight ring looser without resizing.
With these methods and tips, you’ll never have to guess your ring size again. Now go find that perfect-fitting ring—and wear it with confidence!